Complete Care Guide for Aglaonema
A practical breakdown of keeping the Chinese Evergreen healthy in any corner of your home.
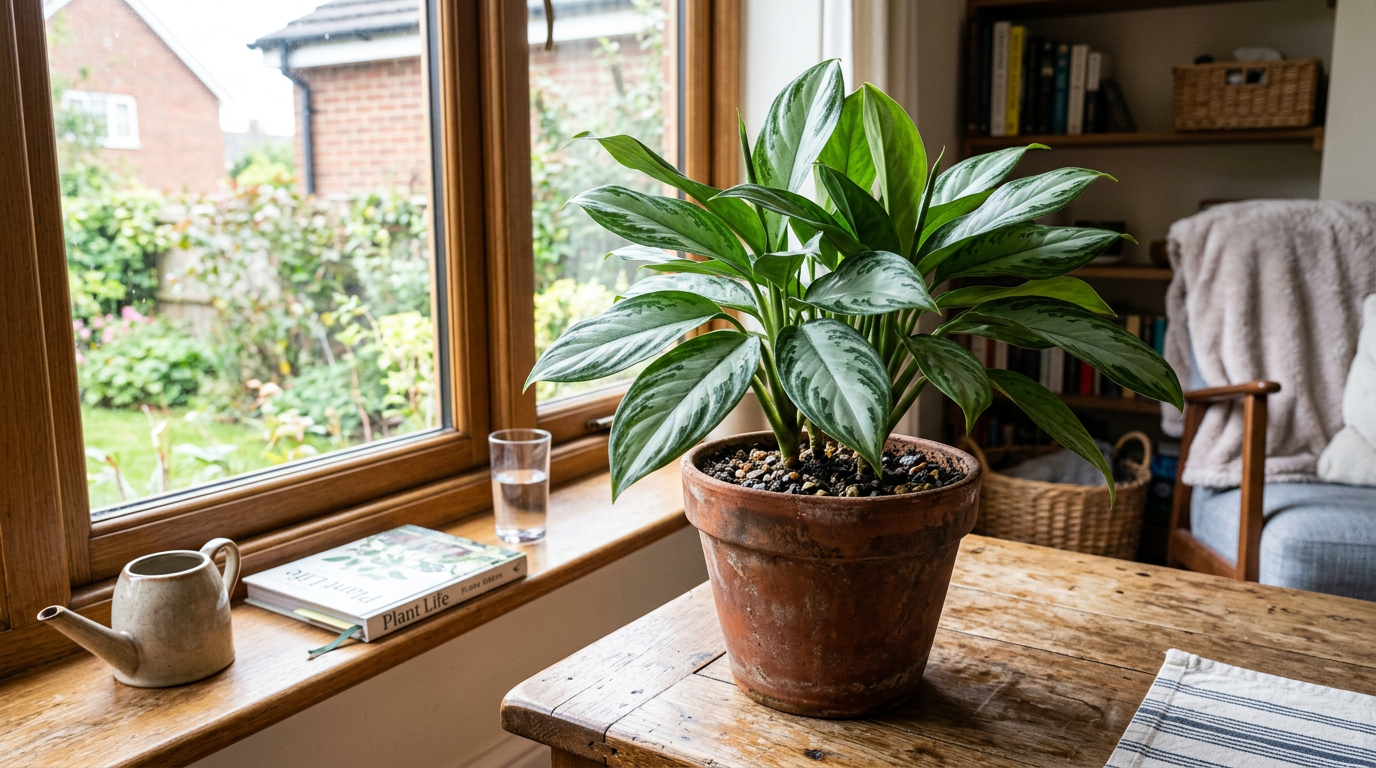

Aglaonema
Aglaonema spp.
Care Level
Easy
Light
Low
Water
Moderate
Humidity
Moderate
The Quick Dirt
The Aglaonema is the engine of the low-light world. It grows well on neglect but will rot if you drown the roots. Keep it warm, keep it out of the sun, and let the soil dry before you reach for the watering can.
The Breakdown
1. Light: The Solar Panel Logic
Think of light as the fuel for your plant’s internal engine. Aglaonemas are famous for being able to run on very little, but “low light” doesn’t mean “no light.” A dark green variety is packed with chlorophyll—the biological equivalent of a solar panel. Because it has so many of these panels, it can catch every stray photon that bounces into a dim corner. This high density of chlorophyll is what makes the standard varieties so efficient. They can literally live in the shadows where other plants would starve.
However, when you get into the fancy varieties with red, pink, or white splashes, the mechanical reality changes. Those bright colors are beautiful, but they don’t produce energy. In fact, those areas are entirely empty of chlorophyll. This means they act like a metabolic tax on the plant’s system. To keep those colors from fading, you have to provide more light. If the plant starts “leaning” hard toward a window—a process we call phototropism—it’s essentially the plant’s way of telling you it’s starving for energy. Place your colorful types near a window with a sheer curtain. This gives them the lux they need to keep their colors without the direct sun scorching the leaves. #### 2. Water: The Hydraulic System Watering is about balance. The plant has thousands of tiny holes in its leaves called stomata that let it breathe. This process—transpiration—pulls water up from the roots like a straw. If your home is dry or you have a drafty window, the plant pulls that water much faster. You have to learn to time your watering based on the plant’s metabolism, not a fixed calendar.

Root rot is a mechanical failure that occurs when the soil stays saturated for too long. When every gap in the dirt is filled with water, there is no room for air. This is a critical point: roots need to breathe just as much as leaves do. Without oxygen, the root tissue begins to break down and die within 48 hours. This is why “overwatering” isn’t about the amount of water you give, but the frequency. You have to allow the soil to breathe between drinks. I use a simple “Two-Inch Finger Test” for accurate checks. Stick your finger deep into the soil. If it feels cool and damp, leave it alone. If it feels dry and dusty to your first knuckle, it’s time to provide a thorough soak. Always make sure your pot has large drainage holes so the excess can escape. If the plant sits in a saucer of water, the roots will suffocate in a stagnant reservoir.
3. Substrate: Engineering the Root Zone
Your potting mix is the foundation for your plant’s internal system. I never use straight “off-the-shelf” bagged potting soil. It is often too dense and made from fine peat that compacts into a solid, suffocating brick after a few months of watering. This is where most gardeners fail without even knowing it. Compaction removes the air pockets that the plant needs to “breathe” underground.
A healthy root zone is about engineering the soil for gas exchange. I mix in one part coarse grit—like perlite, pumice, or small pieces of orchid bark—for every two parts of soil. The perlite acts like structural beams in the soil. It creates permanent gaps that won’t collapse even when the dirt is fully saturated. This is critical because it ensures that there is always some oxygen available to the root system. If your water takes more than ten seconds to disappear from the surface when you water, the soil is too tight. A healthy substrate should be springy and loose, allowing the roots to explore the entire container without hitting a wall of solid mud.
4. Atmosphere: Managing the Comfort Zone
Aglaonemas are tropical plants. They evolved in Southeast Asia, and they thrive in the same temperatures we do. The most critical point is the “Thermal Shock Threshold.” If your home drops below 60°F, the plant can suffer from mechanical cell failure. This shows up as mushy, translucent patches on the leaves. Always keep your plant away from the drafty reach of an air conditioning vent or a cold window in the winter.
You also need to manage the dry air in your home. This is where the concept of “Vapor Pressure Deficit” comes into play. If the air around the leaves is very dry, it pulls moisture out of the plant much faster than the roots can replace it. This is why you see brown, crispy tips. To fix this, use a simple pebble tray. Place the pot on a tray filled with pebbles and water. As the water evaporates, it creates a localized zone of higher humidity right where the plant needs it most. While you are at it, wipe the leaves with a damp cloth every week. Dust acts like a barrier that prevents the plant from eating. A clean leaf is an efficient solar panel.

5. Troubleshooting: Reading the Dashboard
Think of the leaves like a dashboard on a truck. They will show you where the system is failing.
- Yellow Leaves: If the bottom leaves are turning yellow, it is often a sign of old age. The plant is simply recycling the nutrients to support new growth. However, if multiple leaves turn yellow quickly, it is a clear sign of overwatering and root failure.
- Crispy Margins: If the edges of the leaves are brown and brittle, you are likely dealing with dry air or a chemical buildup in the soil.
- Drooping: This is the most common diagnostic point. If the leaves are drooping but the soil is wet, you have a major mechanical failure—root rot. The plant can’t drink because the roots have failed. If the soil is bone dry, it’s just a “soft” wilt from thirst. Always perform the Finger Test before you assume you need to water.
Si’s Pro-Tip: The Chemical Flush
Tap water is a double-edged sword. It’s convenient, but it carries chemicals like chlorine and fluoride that the plant cannot process. These toxins build up in the substrate and eventually move to the leaf margins, killing the tissue. If you see brown, crispy tips, let your watering can sit out for 24 hours. This allows the chlorine to off-gas. For fluoride, which is more stable, you may need to use rainwater or filtered water to keep the leaf edges clean.
Once every quarter, perform a “Chemical Flush.” Take the plant to the sink and run a gallon of filtered water through the pot. This leaches out any salt buildup and toxic chemicals that have accumulated at the root level. It’s a small mechanical move that ensures the root zone remains healthy and the plant can continue to grow efficiently. Success is just a series of small, correct moves.
Keep your hands dirty and your plants happy.

About the Author
Silas
The Practical Greenhouse Mentor
"Silas treats the greenhouse like a workshop of practical results. After 40 years of dirty hands, he’s learned that thriving plants are the result of honest observation and small, correct moves rather than luck. He’s the neighbor who knows exactly why your Pothos is pouting and how to fix it without the fuss."